Project Paint: A Guide to Fun and Funky Paint Options

 When it comes to painting interior walls, home exteriors or even kitchen cabinets, an immediate list of steps come to mind. Stripping old finishes, sanding, priming, multiple coats of paint, top coats—an exhausting proposition that might dissuade even the most energetic DIYers from taking on the task themselves.
What if you could make some small- and even large-scale design changes with paints that offer minimum hassle and maximum impact?
If your only familiarity with paint has been perusing the aisles of your local home improvement store, you probably think your only options are standard latex or oil-based paints, including all the prep work that comes with using them. But those aren’t your only choices.
One might say there is a “new generation” of paints to choose from, although some of the most popular paints today are simply resurrections of old options that have stood the test of time. Some are newer formulations that are seeing an increase in popularity. So don’t be discouraged, and don’t be resigned to your current decor. Instead, read on for ideas to freshen up your home with ease.
Milk Paint vs. Chalky Paint
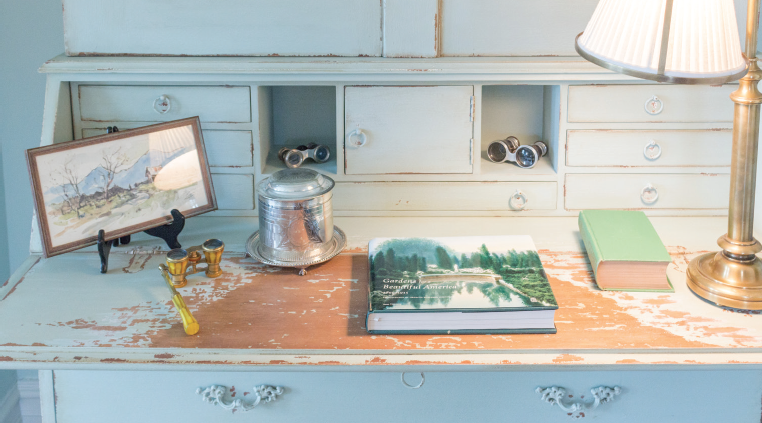
These popular decor paints are available in vibrant modern colors as well as vintage hues, and, depending on the chosen application process, can be used to achieve a deep, velvety matte finish or a distressed vintage look.
Traditional milk paint has been around for thousands of years and, as its name suggests, is really made from milk, along with lime and color pigments.
The term Chalk Paint® is trademarked by Annie Sloan, who developed it more than two decades ago. Today, there are many other “chalky paint” brands that mimic the same properties. The usual ingredients are latex-based paint mixed with a sticky base, like plaster of Paris.
You can find recipes online to make both paints yourself, or you can purchase them from various manufacturers. However, they are often only available at specialty retailers, so do some research online first to see if any brands are available locally. If not, you can order online from various websites.
These two paints are very similar in their use and results, with a few differences that might make one more suitable than the other on certain projects, based on personal preference.
Similarities:
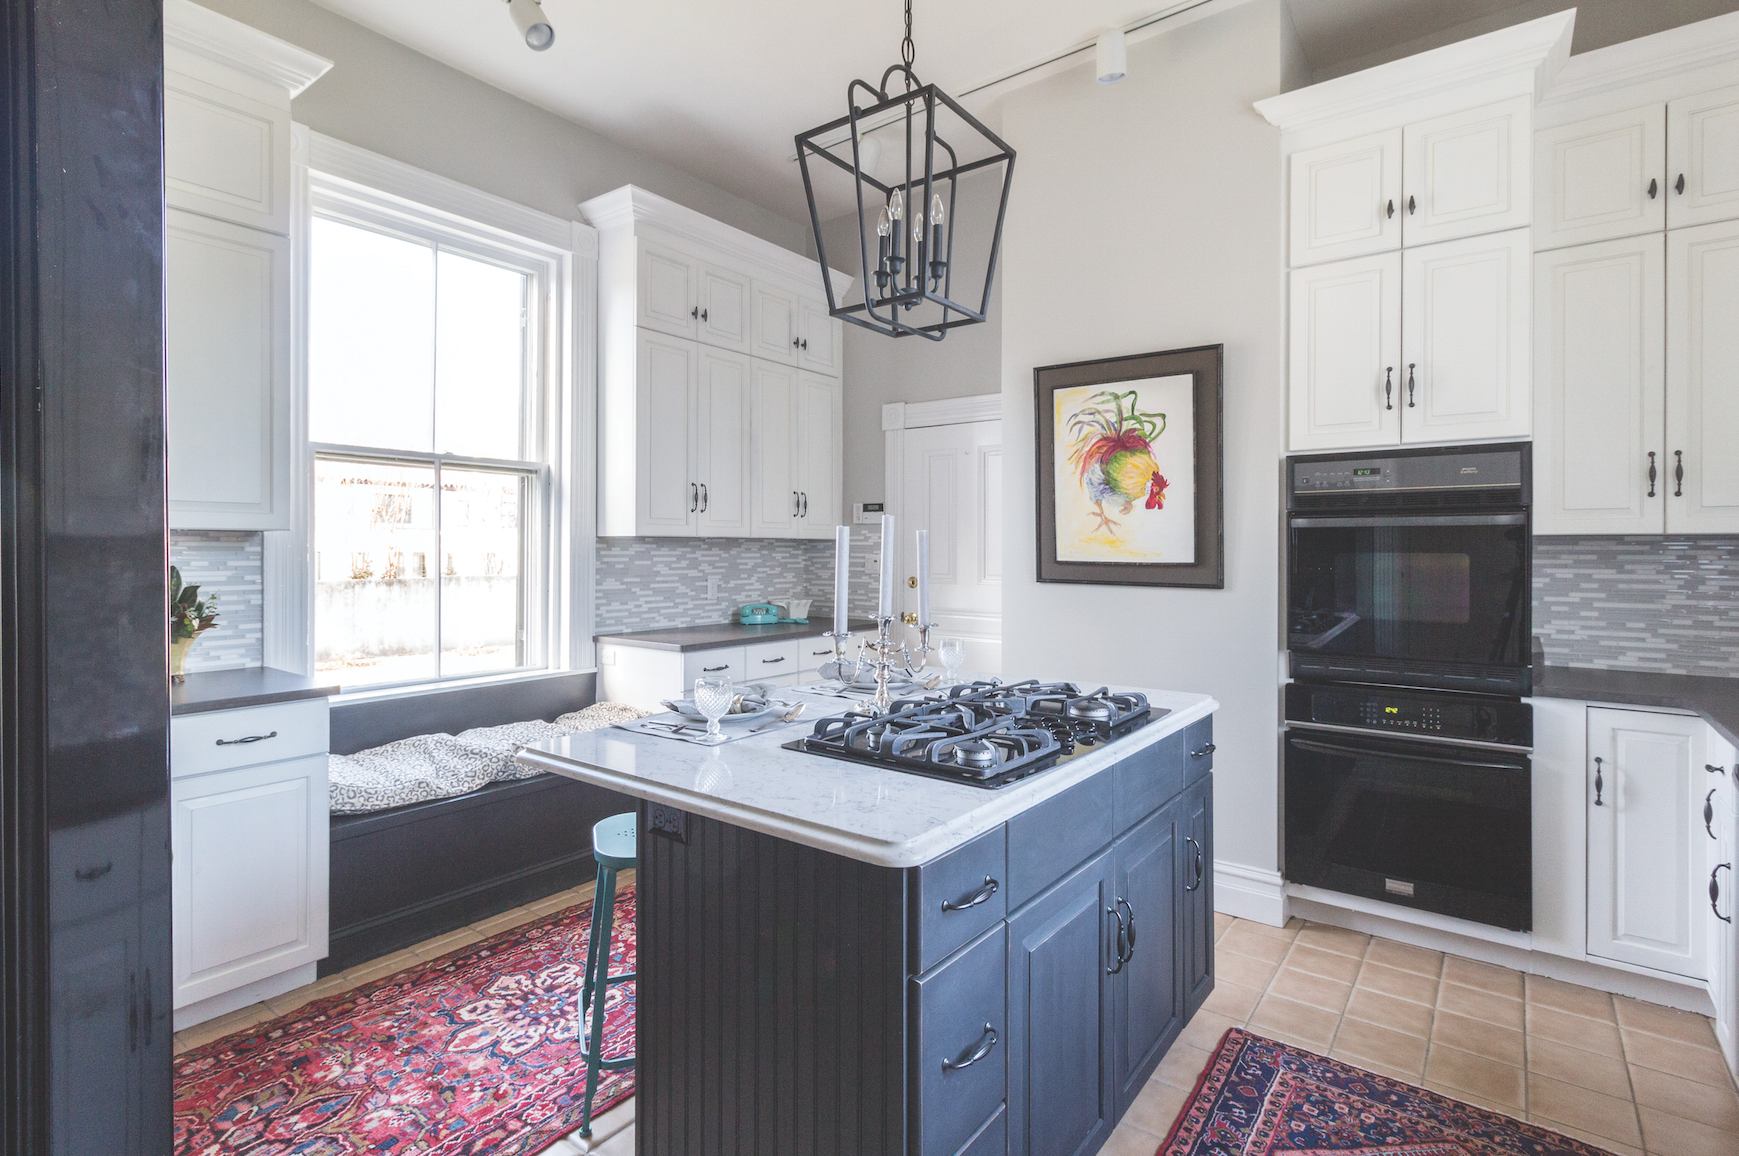
 • Because of cost, these paints may not be the best choice for repainting entire rooms. Instead, they are both excellent choices for breathing new life into furniture or smaller-scale renovation projects, like refinishing kitchen or bathroom cabinets.
• Both are very forgiving and allow for a lot of creativity. Brush strokes will level out so you won’t see distinct marks, and you can layer paint colors on top of each other to create tailored finishes.
• Both paints can be applied with either a brush or roller.
• For each, there is an optional step, which is to add a layer of either clear or tinted wax to the finished products. This will make the finish last longer, especially on high-traffic areas like tabletops or cabinets.
• Both of them are fun to work with and give pieces an authentic, old feel.
Differences:
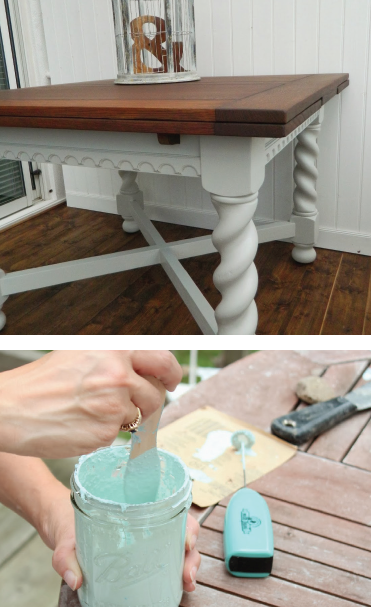
• With milk paint, you mix powder with water yourself, so you can control the thickness, allowing you to create everything from a stain to deeper colors. This also helps with cost control, since you only have to mix as much as required for each project. And you can create your own colors by buying and mixing different powders. The flip side is, you might discover you need to apply several coats to achieve the results you want. And it has a short shelf life—the powder only lasts about six months once opened.
• Chalky paint comes pre-mixed in a can, with a smooth, thick consistency. One coat might do the trick.
• Traditional milk paints are usually 100 percent natural, without annoying fumes.
• Chalky paints often have a latex base, so projects need to be done in ventilated areas.
• Milk paints are extremely durable, but if you really want them to stick to plastic, metal or other non-porous surfaces, you need to mix in a bonding agent. You don’t have to paint an additional layer first. You just have to add the agent to the paint when you mix it. You can omit this step, but the coat will chip over time. (This can also be perceived as a labor-saving benefit. While you have to manually sand pieces to make chalky paint look distressed, milk paint will self-distress.)
• The biggest appeal of chalky paint is that it sticks to pretty much anything, including plastic and metal. No sanding or priming. Literally, just slap it on. You can layer paint until a desired look is achieved. You can use a thinner coat to allow the original color of the surface to come through. You can paint multiple coats of one color or layer colors, and then sand when dry for a distressed look. Or you can paint multiple thick coats of the same color for a more polished look. Anything goes.
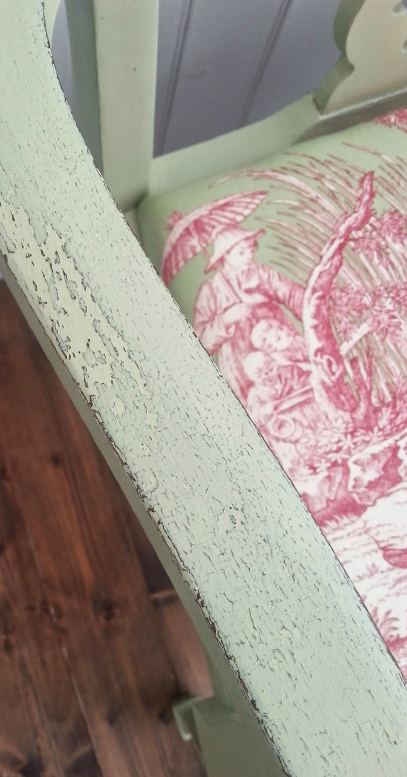
• Milk paint is unpredictable in how it will distress. Sometimes it grips really well and comes off in a fine powder. Other times the paint cracks and flakes away, creating a chipped look. Some people enjoy the surprise in how it will turn out.
• Chalk-type paints stay where you apply them and really only come off where you want them to—by manually sanding. It’s easy to control the distressed finish.
Whitewash
Sunlight gleaming off a bright white fence … a whisper of white streaks that lends a cozy, weathered feel to an interior room—both can be accomplished with whitewashing, a time-honored technique employed to decorate natural, porous materials such as uncoated brick, wood, cement and stone. It bonds tightly to these natural materials, allowing them to breathe and, to some extent, reinforcing and protecting them.
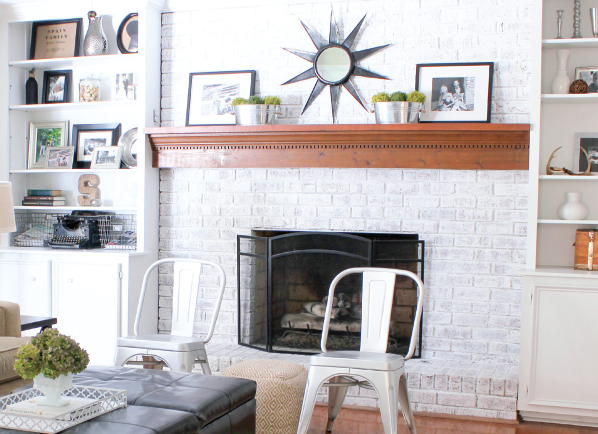
Whitewash, also called limewash, is a mix of water, salt and hydrated lime, the latter of which is available in bulk at home improvement stores. Ratios vary; you can find basic “recipes” online. Whitewashing is especially economical when tackling large-scale outdoor projects such as fences, brick facades of houses, garages, sheds or brick patios. If using inside, whitewashing is ideal for wood ceilings or brick—such as converting a loud, orangey 70s brick fireplace into a more subtle room centerpiece.
 Understand, whitewashing can be labor intensive, depending on how big of a project you are planning. Surfaces should be clean of dust, oils or grease, so powerwashing exteriors or wiping down an indoor fireplace is key. You will also need to dampen (not drench) the surface of any material with water just before you apply the whitewash. You will also need to keep stirring the whitewash during application to prevent the lime from settling and to keep the mixture even. Materials are easy to procure, though. All you need is a bucket and a flat brush or masonry paintbrush.
Another key step with whitewashing is to remember the coat will appear clear when you first apply, but become more opaque when it dries. So try a test area first to see how many layers you actually need. Cover an area, let it dry for 24 hours, and then decide if you need more. Dampen the area again before you start layering another coat.
If using on exteriors, you may have to re-apply about every two years to maintain your chosen look, including washing down exteriors and brushing loose bits off before you re-apply. Or, just let it wear down naturally.
With these fun and forgiving paints to choose from, don’t just settle for the average selections of plain old paint. Take a look at all your options and decide if there are more creative, inexpensive or simpler ways to achieve your goal of refreshed decor, inside or out.
chalk furniture, chalk paint, chalkboard paint, diy paint, milk paint, milky paint, white wash


Jennifer Macaire
Great article – I would loveto try some chalky or milk paint!