FLOWERS FROM THE HEART
Photos by James River Media
The Art of DIY Bouquets
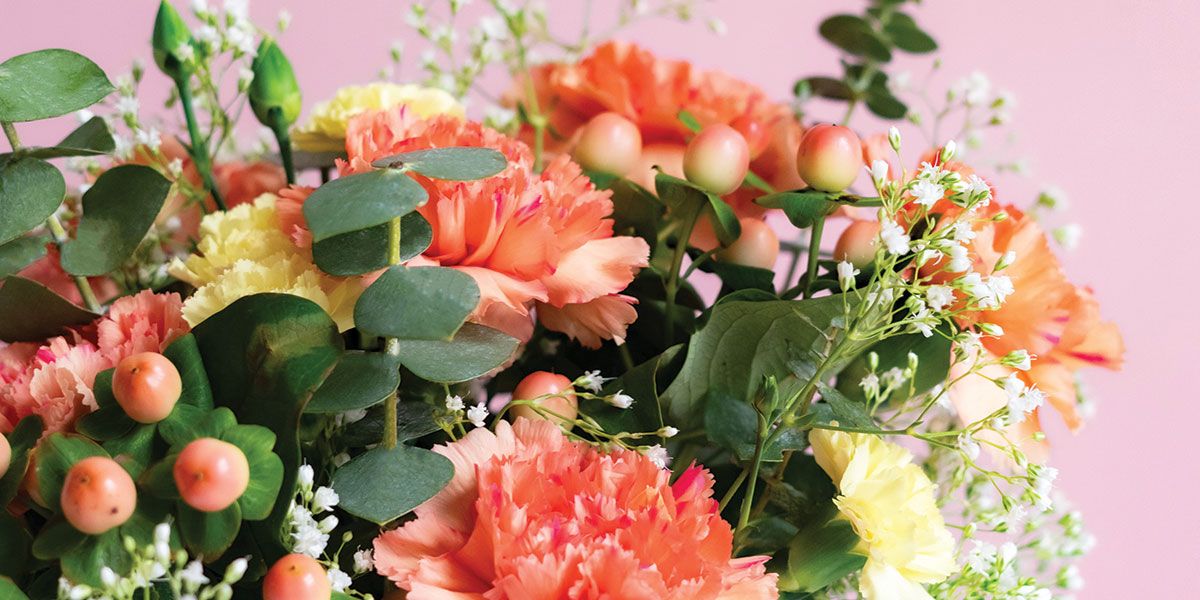
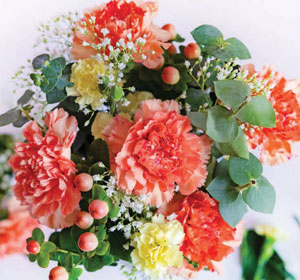 Flowers are always a welcome gift, particularly around Valentine’s Day. Creating your own arrangement is easier than you think and adds a personal touch that can’t be found in stores. Whether you are creating a large, show-stopping centerpiece or a small bouquet to brighten a corner, focus on scale, proportion and balance. This simply means that the elements of your arrangement (flowers, fillers and vase) are evenly distributed and suited to the place where it will be displayed. A dozen red roses will overwhelm a small vase on a side table, but trim the stems, place them in floral foam in a smaller bowl and it becomes an elegant display.
There are multiple approaches to creating your own flower arrangement; some recommend beginning with the vase while others start with the flowers.
The blooms
You may choose to use flowers and greenery from your garden, although there are times of the year where this is a more challenging task. It is perfectly fine to use flowers and fillers from the grocery store or from your local florist if that’s what’s available, perhaps mixing the purchased with the homegrown and foraged.
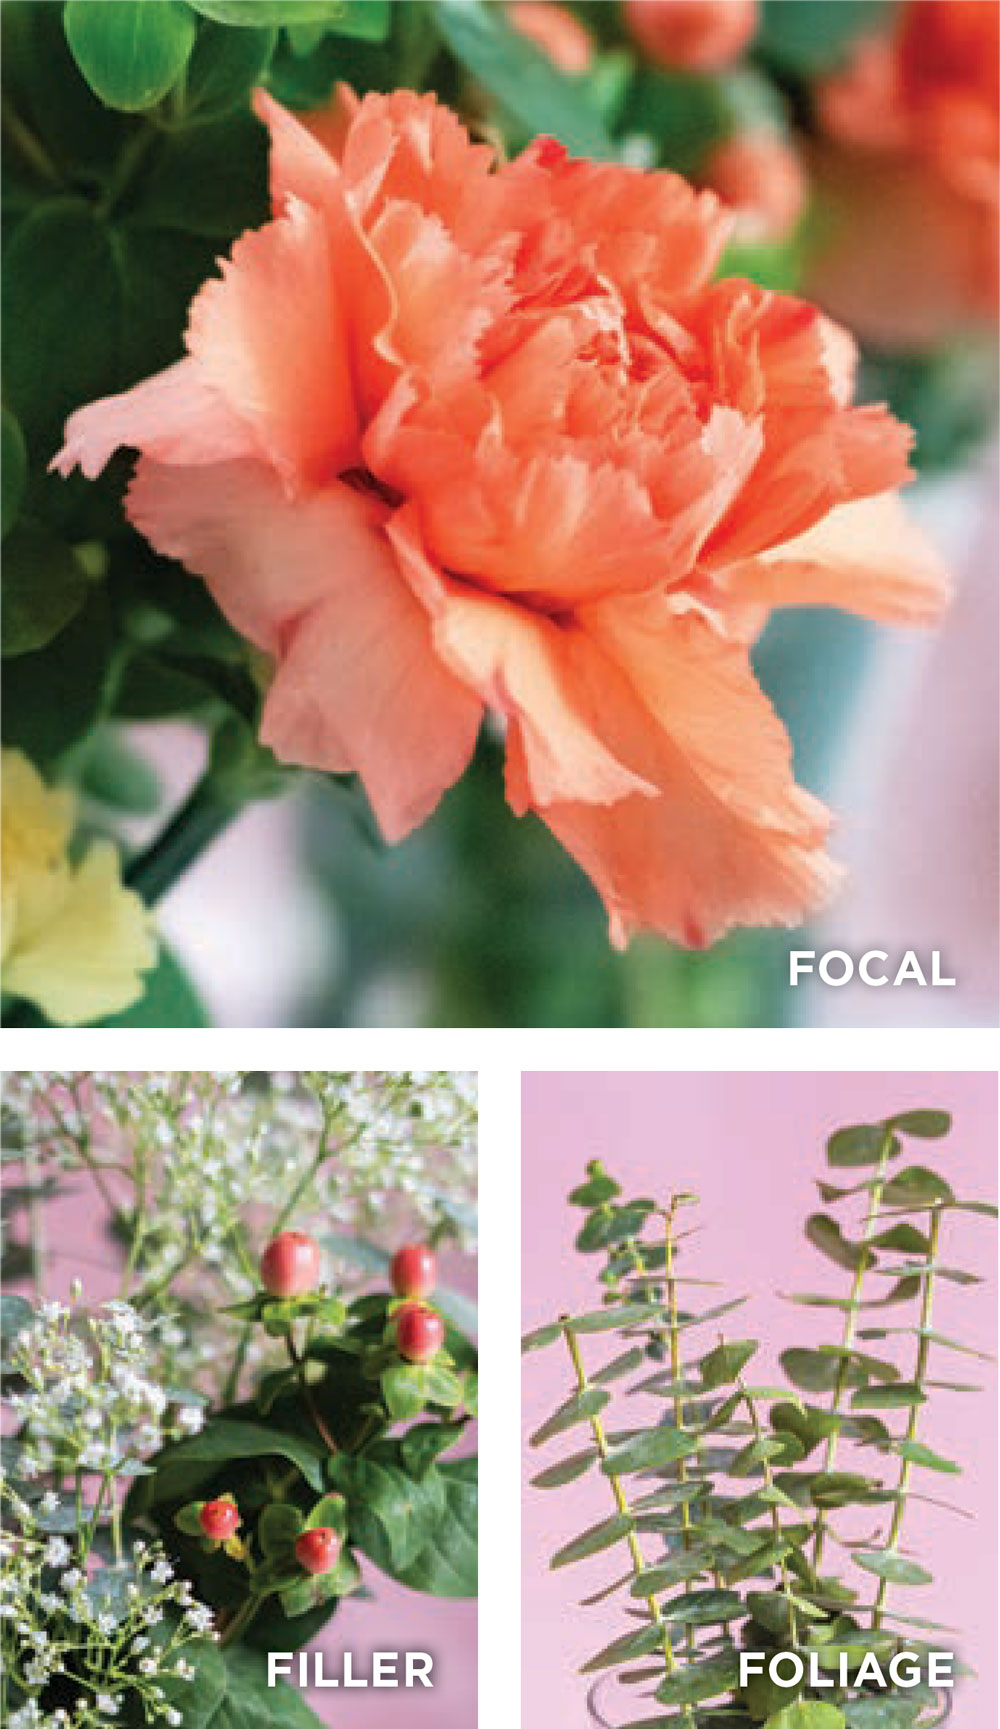
There are no set rules as to what flowers and greenery you can use, although you should bear in mind the receiver’s preferences. Lilies are popular in arrangements, but some varieties, like stargazer lilies, can trigger allergies. Some low- to no-scent flowers include hydrangea, orchids, daffodils, roses, tulips, carnations and snapdragons. When selecting the blooms for your arrangement, you’ll want some focal flowers that stand out, secondary and filler flowers that add texture and layers as well as greens to fill out the arrangement. Baby’s breath, yarrow, heather, delphiniums, Bells-of-Ireland, sedum, statice, sweet peas and more are all wonderful filler flowers. For foliage, look beyond the usual ferns to add some texture to the arrangement. Holly, boxwood, myrtle, moss, eucalyptus and variegated pittosporum are all excellent foliage considerations. For even more texture, you can add dramatic branches, feathers, a small garland or anything else you can think of.
 The vase
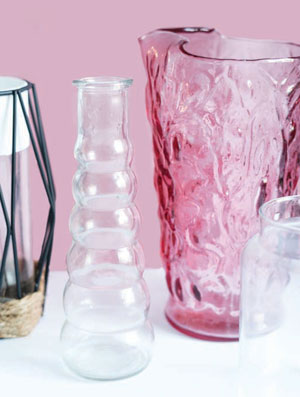
With your flowers chosen, it’s time to select a vase. This is where scale is key, as the stems of the final arrangement should be no more than one and a half to two times the height of the vase. Pay attention to the size of the opening on the vase. A narrow opening is easier to work with than a wider one, which will naturally demand a much larger arrangement. Don’t limit yourself to traditional vases as vintage pitchers, crystal bowls and even teacups can make interesting vessels for holding flower arrangements. There’s lots of room for creativity here!
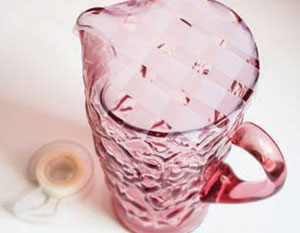 With the vase selected, you can think about the mechanics of your arrangement. This is what will help your arrangement look like a professional creation. Mechanics are the items that are used to keep your bouquet stable. Among them are green floral foam, tape, floral frogs, wire and more. A simple grid of tape on the opening of your vase helps to break the space up into smaller segments that keep stems in place while floral foam and frogs go into the container, holding the stems from below. Mechanics aren’t always necessary, but they can help build a striking arrangement.
The arrangement
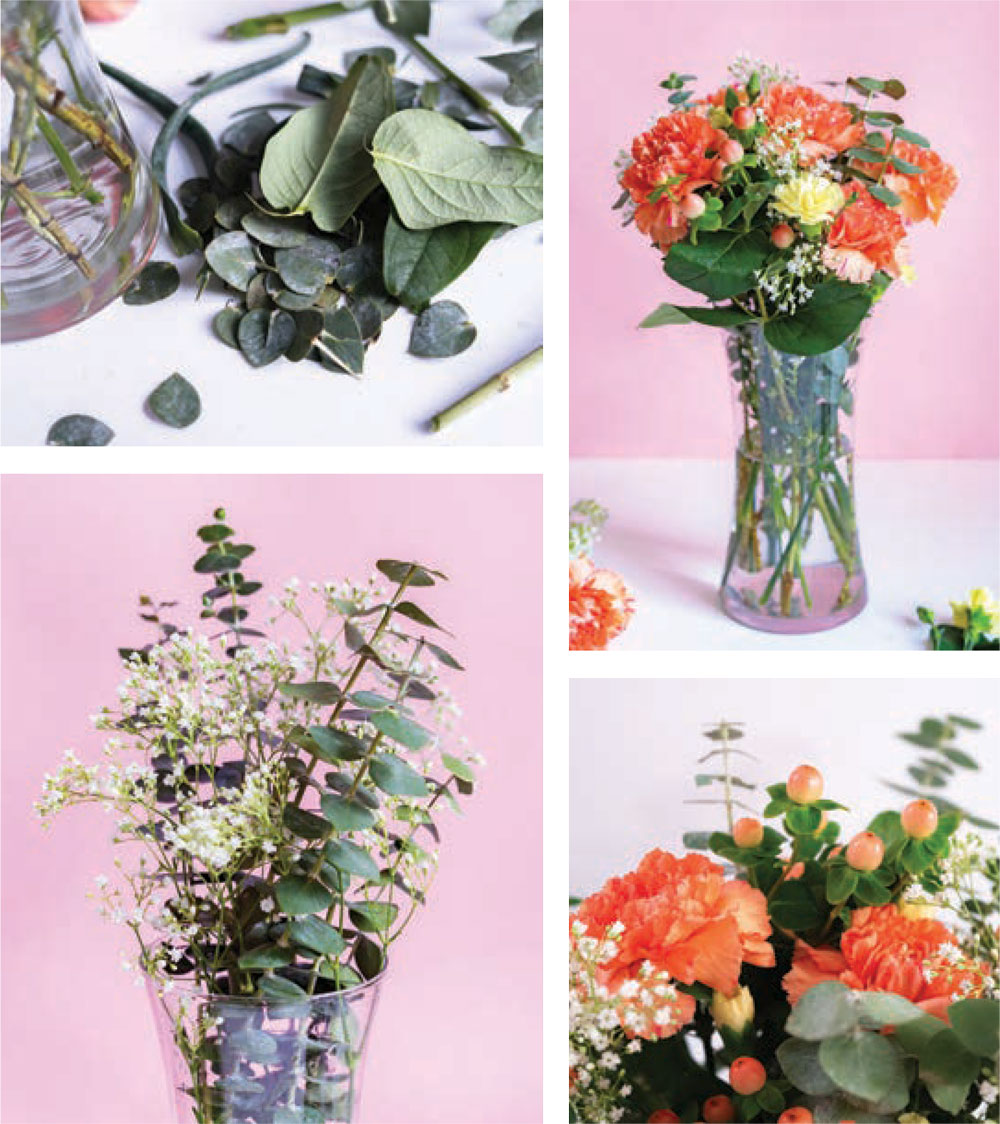
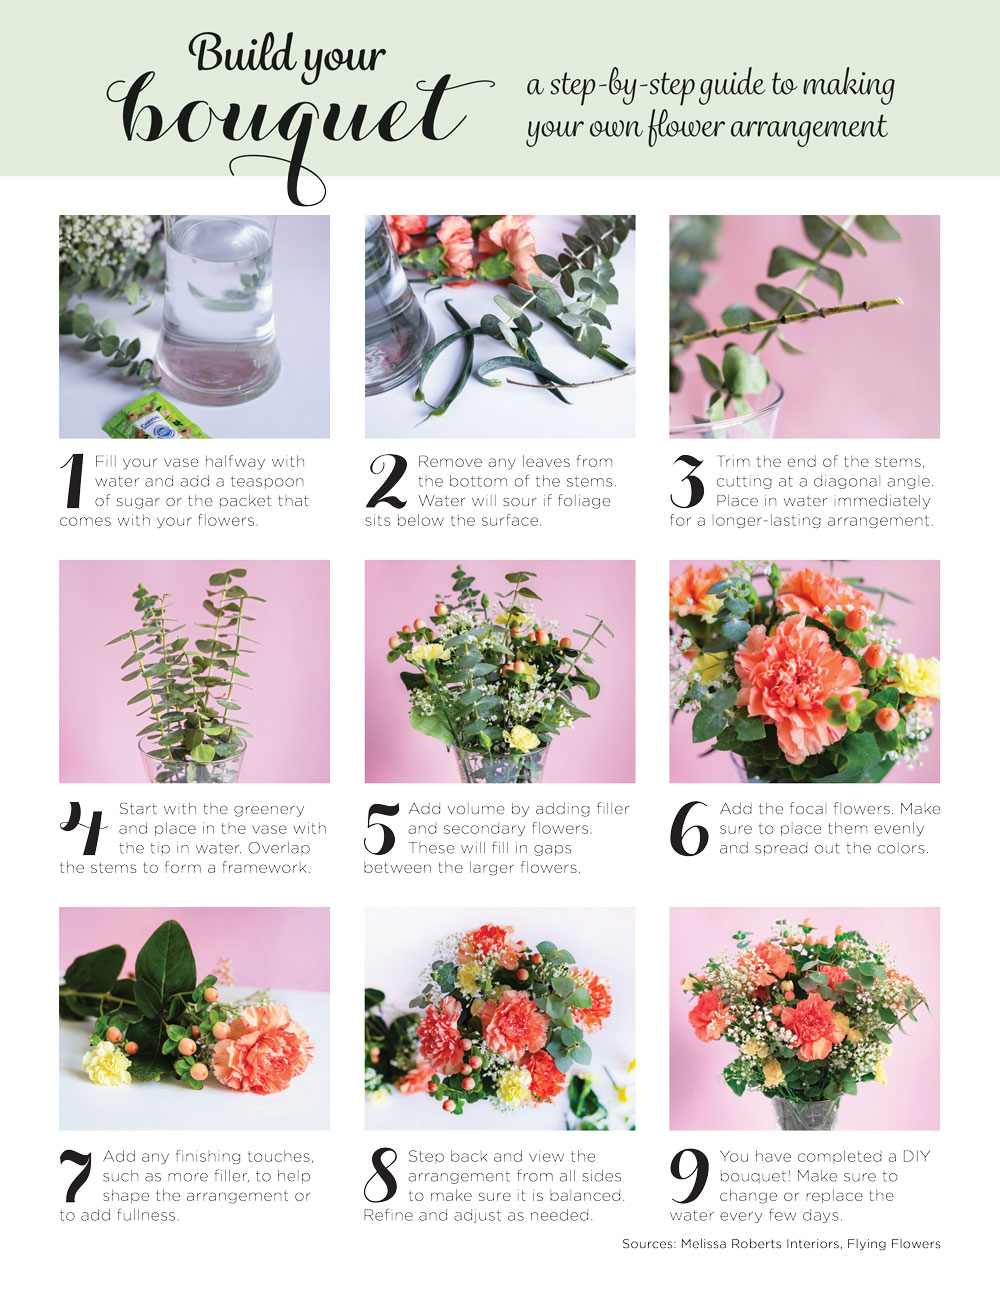
Flowers and vase collected, mechanics decided, it’s time to start arranging. Remove any leaves from the flower stems as they soak up a lot of water and tend to rot, making your water murky while also shortening the life span of your arrangement. If not using a frog or florist foam, you’ll want the stems to hit the bottom of the vase.
Trim the stems at a 45-degree angle, which helps them absorb as much water as possible. It’s always good to let flowers sit in lukewarm water for a few hours prior to arranging, which helps the arrangement last longer. This is especially important if using items from your own garden. It’s best to trim the stems with garden snips or a sharp knife. Scissors are not recommended with this task, as they can crush the vessels in the stem that carry water to the blooms.
Everyone has their own technique, but generally it’s best to start with a base of greenery. Then, add the focal flowers. Working outward, place the secondary and filler flowers, filling out the composition. Approach your arrangement as a dome that will be seen from every side so that it’s fully balanced. Combine smaller flowers in groups of three or five to create clustering, similar to nature, as you fill in the gaps between the larger, focal flowers.
Making your own floral arrangements may seem intimidating at first. Your first few may not be spectacular but keep going. Play around with it, trying different vases and mechanics. You may soon find yourself creating bouquets all year long, not just as Valentine’s Day gifts.
 Make your own arrangement
Scan this code for a downloadable version of the step-by-step instructions. Refer to this guide for smooth sailing when making your own bouquet!
Or you can click on this image to download the step by step guide ✦
centerpiece, crystal bowls, DIY bouquets, fillers, flower arrangement, flowers, greenery, small bouquet, teacups, Valentine’s Day, vase, vintage pitchers
