INDOOR GREENERY

How to build a terrarium
When the winter blues have you down or when the heat of summer is keeping you indoors, having a small indoor garden can brighten your day and give you something to tend in between spring plantings and fall harvests. Why not build a terrarium? It is easy to make, low maintenance, and it allows you to create your own little microcosm, in any theme you like.
What is a terrarium?
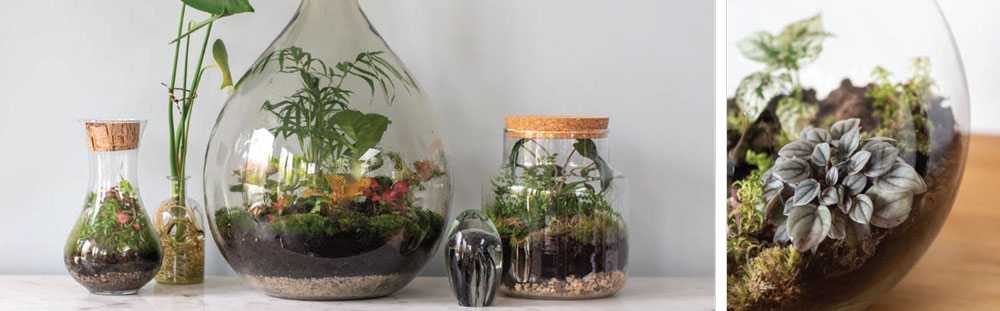
A traditional terrarium is an enclosed glass container that creates its own mini, self-contained environment, capable of sustaining small plants with minimal or no maintenance. The circle of life takes place inside the case.
Sunlight provides warmth as well as the means for plants to photosynthesize. If the heat captured in the glass from the sunshine evaporates moisture from plants and soil, that water is returned when the evaporated water meets the colder glass, and it condenses. So, there is no water loss.
The starting soil will contain enough nutrients to support plant growth. But the soil will later become a thriving home for microorganisms, which will emit carbon dioxide. Plants take CO2 and convert it to oxygen, which supports the microorganisms. The closed loop keeps going on its own if you design it right.
DIY checklist
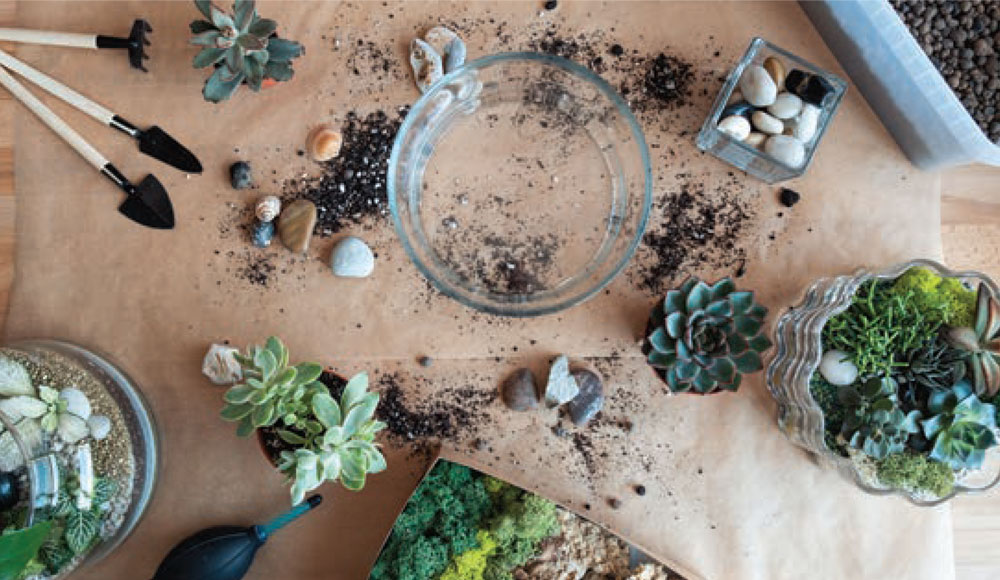
Building your own terrarium is a fun and easy project, but you will need some items to get started. The key to a successful terrarium will be layering the base to provide the necessary drainage and checks and balances within the environment. The inside layers should be between a quarter to a third of the height of the overall container. Leave plenty of space for the plants. Then, you will need to choose the right plants.
Here is what you will need:
- Sealable clear glass container: This could be a large mason jar (for a mini terrarium) or a larger case like a goldfish bowl, old fish tank or any glass container that can be covered. Search at local thrift stores for creative options. Make sure the container has been thoroughly cleaned.
- Drainage layer: Begin by adding a layer of small stones or other materials such as aquarium gravel or rounded sea glass, to provide space and air for drainage.
- Charcoal: To help prevent fungi from growing on the wet stones, add a layer of activated charcoal between the stones and the next layer. You can find this at a plant nursery or pet supply store.
- Moss: To keep the dirt separated from the stones and charcoal, add a layer of moss next.
- Soil: Finally, you will add about an inch of sterile potting soil, store-bought, from the bag. Do not use outdoor soil. Transfer the soil using a clean garden trowel or a clean large spoon, for smaller containers.
- Plants: Now that you have your base, you will need to choose slow-growing plants to populate this unique environment. Some plants to choose from include:
-
- African violet
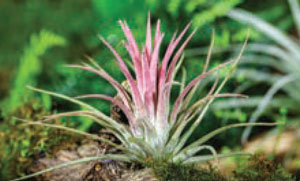
- Air plant
- Club moss
- Creeping fig
- Earth star bromeliad
- Hen and chicks
- Inch plant
- Lucky bamboo
- Meadow spikemoss
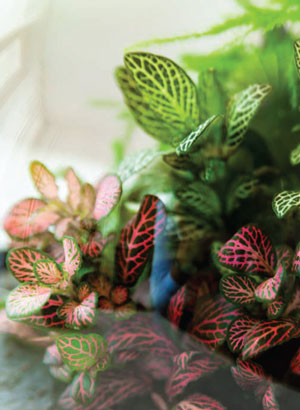
- Nerve plant
- Polka dot plant
- Pothos
- Prayer plant
- Dwarf ferns
 Choose a variety of plants of different heights and leaf structures, but do not overcrowd. The plants should have space around each other while not touching the glass. Take a moment to map out where you want to plant your greenery. You can put the tallest plants in the middle and smaller plants around them or build from back to front, with taller plants in back and shorter ones in front in descending height order.
Gently lift the plants from their pots, removing any sickly or yellowed leaves, and delicately shake off as much excess dirt as possible. If the plant’s roots have wound together, gently loosen them, and then trim (aka prune) them, which will help slow down plant growth. Carefully plant them in the 1-inch layer of soil. You can use small tools like spoons and even chopsticks to help dig holes, position plants and move soil.
 The terrarium is almost done – unless you want to kick it up a notch. You can add all sorts of décor items, such as seashells, mini fairy figurines or other small items to personalize the space.
Next, add some water to your terrarium – but not a lot. Using a spray bottle, spritz the plants so they are damp, but not so much that water starts to pool at the bottom. Also, take a moment to wipe down the inside sides of any dirt that might obscure your view.
Once your terrarium is sealed, it should not need watering more than every 4-6 months. Only add water if the soil seems dry. Do not add fertilizer, which will spur excessive growth.
Position your terrarium in a sunny environment – but not direct sun.
Troubleshooting
Your terrarium should be a stable environment, but there are some signs that you need to adjust. If it is too dry, you can open it and add a little more water. What is more likely, though, is the environment might be too moist. If you see excessive moisture on the leaves of the plants, or if you see too much condensation or foggy glass, you need to dry it out a bit. Open the lid and let some of the water evaporate until the leaves appear dry.
Check your terrarium regularly to spot any yellow leaves or dead leaves or plants, and remove them to prevent disease. And keep the outside dusted and cleaned – so the diffused sunlight isn’t being blocked by dirt and dust.
With a little care and a lot of love, you can enjoy this microcosm of beauty and greenery for years to come. ✦
photosynthesize, sealable clear glass container, self-contained environment, terrarium